Android
Introduction to the Zoiper SDK 2.0 for Android
If you develop an Android VoIP application with Java, or Kotlin, the Zoiper Software Development Kit for Android will come in handy. Zoiper SDK 2.0 is namely an all-inclusive solution for developing Android applications with
- audio calls (SIP, IAX)
- video call (SIP)
- presence
- messaging
- call recordings
- other functionalities
The SDK consists of an Android library with the respective headers that you can easily integrate into your target application.
Hardware and software requirements
| Requirement | Description |
|---|---|
| Processor | Intel Core i3 or better |
| Memory | 4GB (minimum) 8 GB (recommended) |
| Hard disk space | 1 GB |
| Android Studio | Android Studio Arctic Fox 2020.3.1 Patch 3 or newer, Gradle configuration and Android API level of 16 or above (64 Bit requires API level 21 or above) |
| Operating system (Development environment) | Windows, Linux |
| Operating system (Runtime environment) | Android 4.1.3 or newer |
| Architecture | armv7, arm64, x86, x86_64 |
| Mode | Live device |
Contents of the SDK package
| Folder | Description |
|---|---|
| package/Demo | Demo application with some of the main SDK functionalities. Contains the Zoiper SDK Documentation. Click on the index.html file to open the html documentation in your browser. |
| package/Documentation | Contains the Zoiper SDK Documentation. There is an HTML folder, which holds the HTML reference documentation. Open the index.html file to open the reference documentation on the main page. |
| package/zdk.java-release.aar | The actual framework, which you need to import in your project. |
How to add ZDK to your project
1. Create a new project
2. Copy the downloaded zdk aar file

3. Change the project view in Android Studio to "Project"

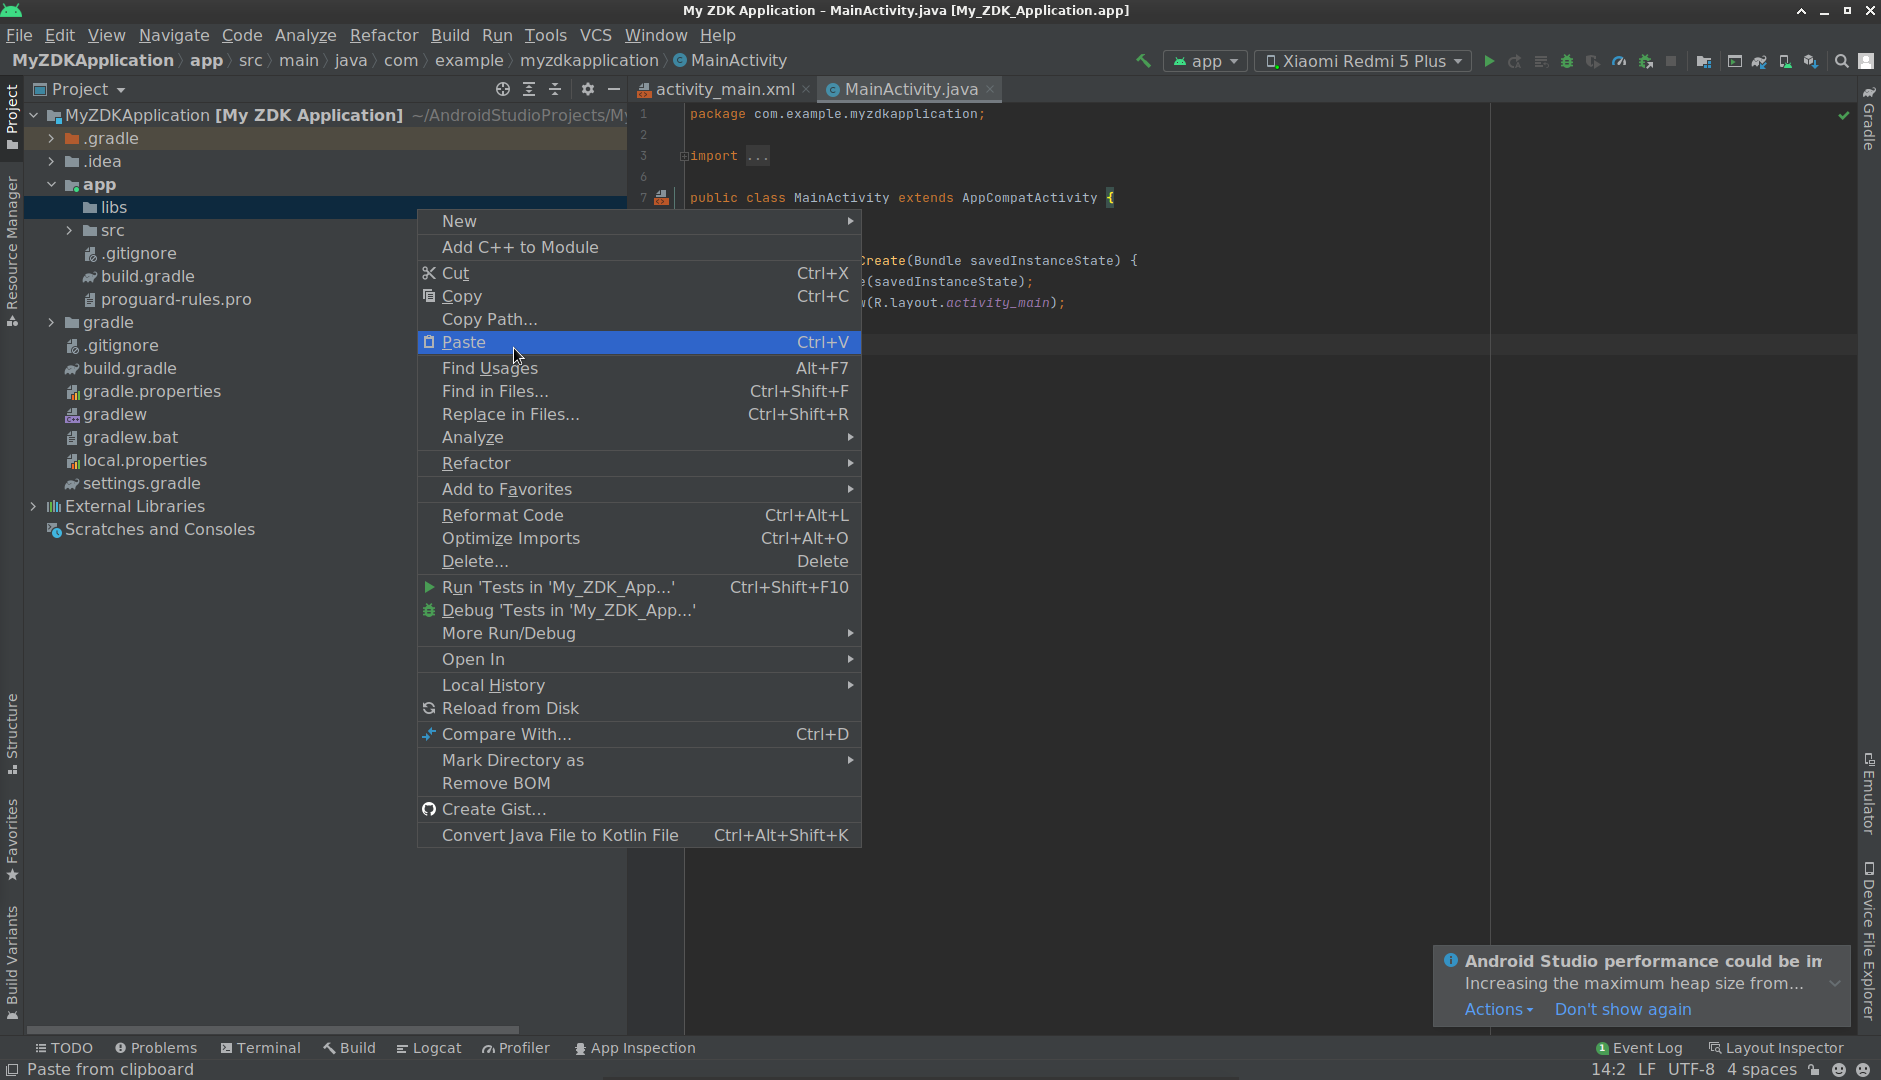
4. Paste the zdk aar file in libs directory
Enter a name

5. Go to Android Studio "Project Structure"

6. In the "Modules" section select "+" to add dependency

7. Enter the path to the zdk aar file

Apply all changes to the Project Structure.
9. Check build.gradle(app) file for the new added dependency

Setting up the Demo project
Prerequisite
The demo applications require zdk.java-release.aar file to be present in ../zdk.java-release/ directory. Simply copy, paste and rename the received zdk.aar file.
Default configuration
Transport type: TCP
Enabled codecs:
- aLaw
- uLaw
- GSM
- speex
- iLBC
- G729
- VP8
STUN: Disabled
- Default STUN settings:
- Server: stun.zoiper.com
- Port: 3478
- Refresh period: 30000
Activation
Before you can test the demo app, you need to activate the SDK. You will receive a username and password from Zoiper.com.
Manual
Enter the activation credentials before you build the application in assets/credentials.json. Please note: you might first need to rename the file to credentials.json.
When the activation is fine, the status will change to “Success”. You can now start testing the demo app.
When the registration fails, you will receive a “Failed” status, followed by an error code. Please, check the status in the console log.
Hardcoded
If you prefer hardcoded credentials, you can use the following call:
private class ActivatorThread extends Thread{
    ActivatorThread() {
        super("ActivatorThread");
    }
    @Override
    public void run() {
        // Load the credentials.
        Credentials credentials = Credentials.load(getApplicationContext());
        // It is wise to offload that to a background thread because it takes some time
        zdkContext.activation().startSDK(
                getCertCacheFile().getAbsolutePath(),
                credentials.username,
                credentials.password
        );
    }
}
Do not take your credentials from the GUI, but pass them. Please mind that the activation is put in a different thread for reasons of optimization.
Account registration
You need a SIP account to register to the server and make calls. Configure it in 2 steps:
- Enter the details (username, password and hostname at least)
- Click on the „Register“ button
The status screen will show the registration status. When the registration is successful, you should be able to make calls. If not, then the status screen will show an error code.
Changing the project configuration
To change the SIP configuration, you will need to adjust the calls in:
private func createDefaultSIPConfiguration() -> ZDKSIPConfig
You can adjust the configuration by using the following method calls.
Transport type
sipConfig.transport(TransportType.TCP);
Possible values: .NA, .TCP, .UDP, .TLS
STUN
if(Configuration.STUN){
    sipConfig.stun(createStunConfig(ap));
}
...
private StunConfig createStunConfig(AccountProvider ap){
    final StunConfig stunConfig = ap.createStunConfiguration();
    stunConfig.stunEnabled(true);
    stunConfig.stunServer("stun.zoiper.com");
    stunConfig.stunPort(3478);
    stunConfig.stunRefresh(30000);
    return stunConfig;
}
Rport
sipConfig.rPort(RPortType.Signaling);
Possible values:
- No
- Signaling
- SingnalingAndMedia
DTMF
public static final DTMFTypeSIP DTMF_TYPE = DTMFTypeSIP.SIP_info_numeric;
Possible values:
- .NA
- .Inband
- .RFC_2833
- .SIP_info_numeric
- .Disabled
Changing the used codecs
@NonNull
private List<AudioVideoCodecs> getAudioCodecs() {
    List<AudioVideoCodecs> codecs = new ArrayList<>();
    codecs.add(AudioVideoCodecs.OPUS_WIDE);
    codecs.add(AudioVideoCodecs.PCMU);
    codecs.add(AudioVideoCodecs.vp8); // This is for the videocall
    return codecs;
}
Possible values:
- NA
- G729
- GSM
- iLBC_20
- h263_plus
- h264
- VP8
- h264_hwd
- SPEEX_NARROW
- SPEEX_WIDE
- SPEEX_ULTRA
- G726
- OPUS_NARROW
- OPUS_WIDE
- OPUS_SUPER
- OPUS_FULL
- AMR
- AMR_WB
- PCMU
- PCMA
- G722
Create your Android VoIP App
Set up your environment in the same way as you did for the demo application. Keep in mind that your application must run on a real device. It cannot be used with simulators. To use Zoiper SDK 2.0, you need to import it as a new module into your project. You can do so as follows:
- In Android Studio from
Flle->New->New module...; - Choose
Import .JAR/.AAR package; - Find the Zoiper SDK 2.0 file and choose it;
- After Zoiper SDK 2.0 is added to the project open
Flle->Project structureand select theDependenciestab - Add a new dependency of the application to Zoiper SDK 2.0;
- Make sure you initialize Zoiper SDK 2.0 context into your application. This way, you can use all of its functions.
Here you can find a sample of initializing the context:
Initialize Zoiper SDK 2.0 Context in the application
@Override
public void onCreate() {
    super.onCreate();

    initializeZoiperContext();
    mainHandler = new Handler(getMainLooper());
}
Zoiper SDK 2.0 initialization function example
public void initializeZoiperContext(){
    zdkContext = makeZoiperContext();
    zdkContext.setStatusListener(this);

    // Before we can use the instance, we need to activate it.
    new ActivatorThread().start();
}

private Context makeZoiperContext(){
    // We create the Context instance
    // NOTE: Keep this object single-instance
    try{
        Context zdkContext = new Context(getApplicationContext());

        File logFile = new File(getFilesDir(), "logs.txt");

        zdkContext.logger().logOpen(
                logFile.getAbsolutePath(),
                null,
                LoggingLevel.Debug,
                0
        );

        // Make sure you have both
        // ACCESS_NETWORK_STATE
        // and
        // INTERNET
        // permissions!!!!!!!!!!!
        zdkContext.configuration().sipUdpPort(5060);
        //zdkContext.configuration().iaxPort();
        //zdkContext.configuration().rtpPort();

        zdkContext.configuration().enableSIPReliableProvisioning(false);
        zdkContext.encryptionConfiguration().tlsConfig().secureSuite(TLSSecureSuiteType.SSLv2_v3);

        return zdkContext;
    } catch (UnsatisfiedLinkError e) {
        throw new RuntimeException(e);
    }
}
Keep in mind that inside the initialization the SIP and RTP ports will be also initialized. Right after the Zoiper SDK 2.0 is initialized, it is best to activate its license by using the activation username and password, provided to you by Zoiper.com. The activation can be done by invoking the activateZDK method like so:
zdkContext.activation().startSDK(
    getCertCacheFile().getAbsolutePath(),
    credentials.username,
    credentials.password
    );
Android SDK Reference - Java
You can find the API and methods references here.