Zoiper and Jabber
Setting up the Ejabberd server
The example setup steps below show how to set up an Ejabberd server on Ubuntu 12.04 LTS.
The steps use examples from Ubuntu's help pages at:
https://help.ubuntu.com/community/SettingUpJabberServer
Steps and configuration files on other Linux distributions and/or OSes may differ.
This tutorial is NOT a detailed guide for Ejabberd server administration. It shows only some basic steps necessary to get an Ejabberd server working.
Installation and configuration
Install the server with:
sudo apt-get install ejabberd
After insalling open /etc/ejabberd/ejabberd.cfg.
Optionally add your domain name(s) like that:
{hosts, ["localhost"]}.
becomes:
{hosts, ["localhost","servername.com"]}.
Also, create an admin user by chaning:
{acl, admin, {user, "", "localhost"}}.
to:
{acl, admin, {user, "adminname", "servername.com"}}.
Now, restart the service:
sudo service ejabberd restart
Finally, set the password for your admin user:
sudo ejabberdctl register adminname servername.com password
The ejabberd server is working and the basic configuration is done. Ejabberd comes with a web base management tool, available at:
http://servername.com:5280/admin
To log in enter the admin username and password.
Adding Users
To add new users open:
http://servername.com:5280/admin
and go to:
Virtual Hosts >> servername.com >> Users
or directly to:
http://servername.com:5280/admin/server/servername.com/users/
Fill in the "User" and "Password" fields and click on "Add User".
Setting up Zoiper
-
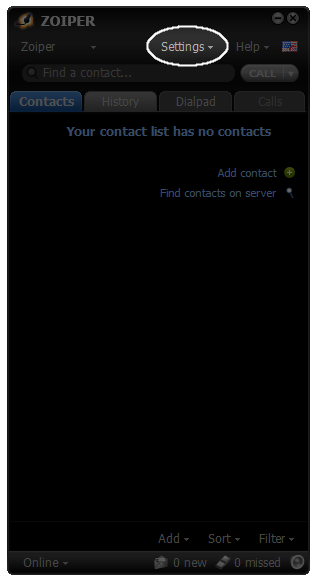
Start Zoiper.

-
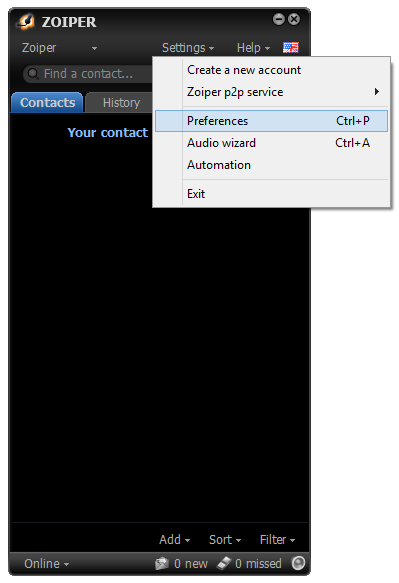
Click on Settings.
-
Choose Preferences.
-
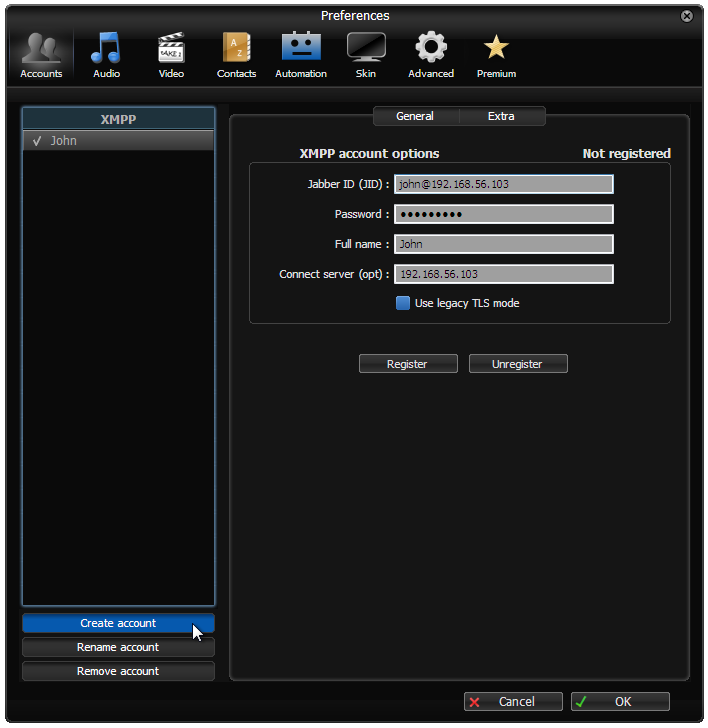
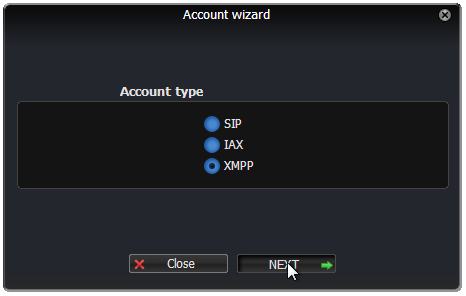
Click on "Create account".
-
Choose "XMPP" and click on "Next".
-
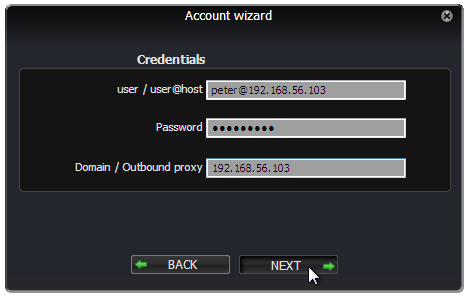
Type in your chat Username, your Password and your chat Domain name (server).
-
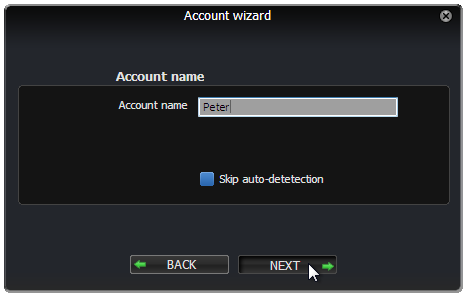
Set your account name.
- Your Account name (this is the name your new account will appear in Zoiper with) will be prefilled.
- Changed your Account name if necessary.
- Click on "Next".
-
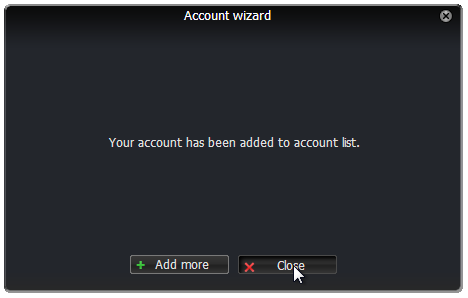
Add more accounts if needed.
- If you wish to add more accounts click on "Add more".
- To finish click on "Close".
-
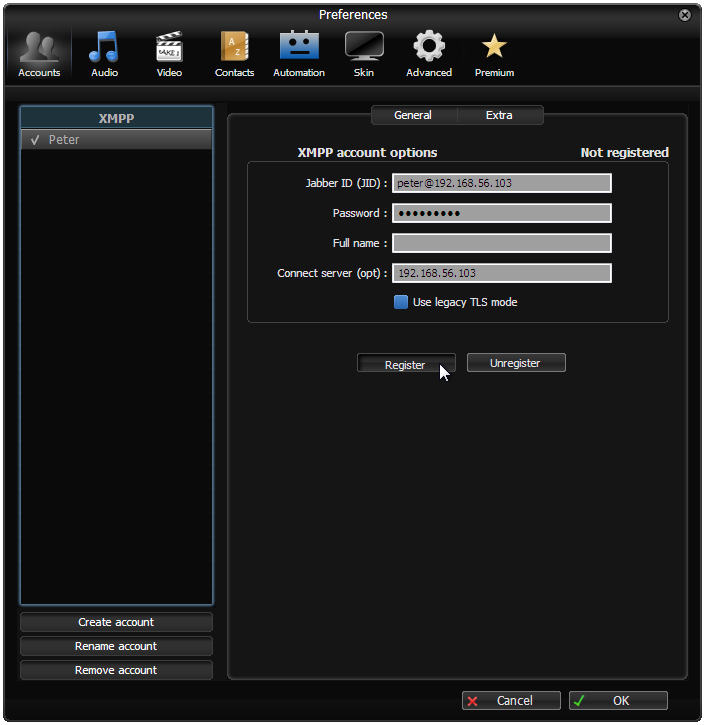
Click on "Register" to connect to the chat server.
-
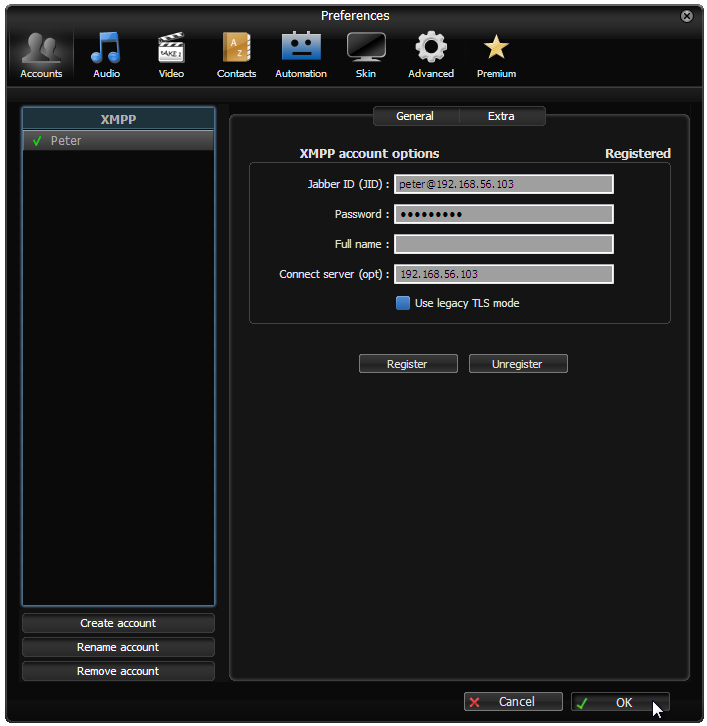
Continue after being registered.
Once you connect successfully, the label to the to right hand side of the "XMPP account options" section will change to "Registered".
After that click on "OK".
-
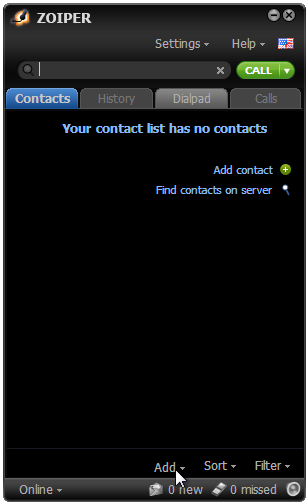
To manually add a new chat contact click on "Add" on the bottom.
-
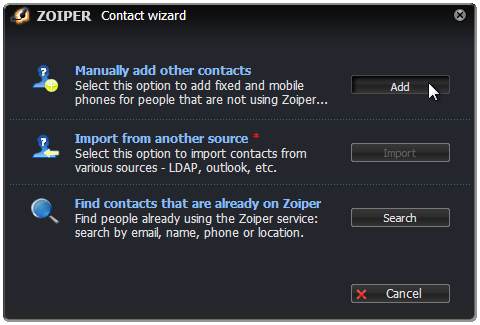
On the row "Manually add other contacts" click on "Add".
-
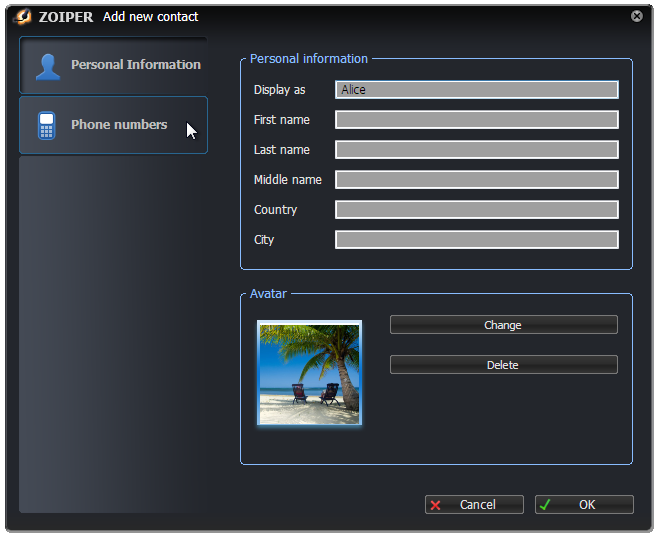
Enter some contact details.
Fill in the new contact's "Display as" and all other desired Personal information fields and click on "Phone numbers" .
-
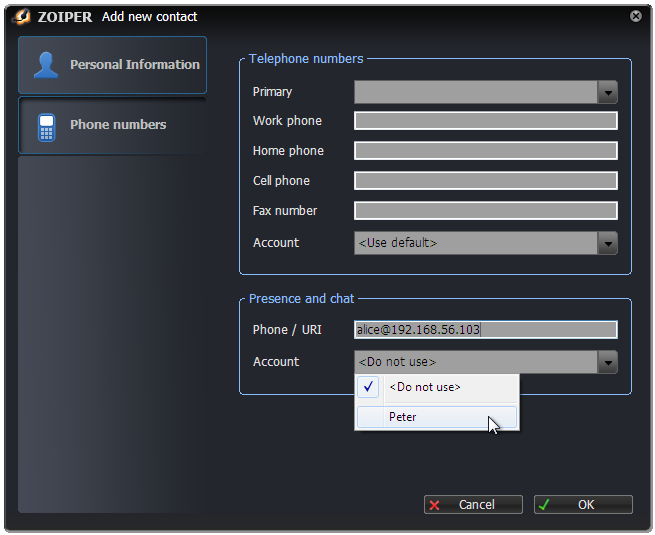
Set the contact Phone / URI
- In the "Presence and chat" section type in the new contact's chat URI.
- From the "Account" dropdown menu choose your chat account, you would like to new contact to be attached to.
-
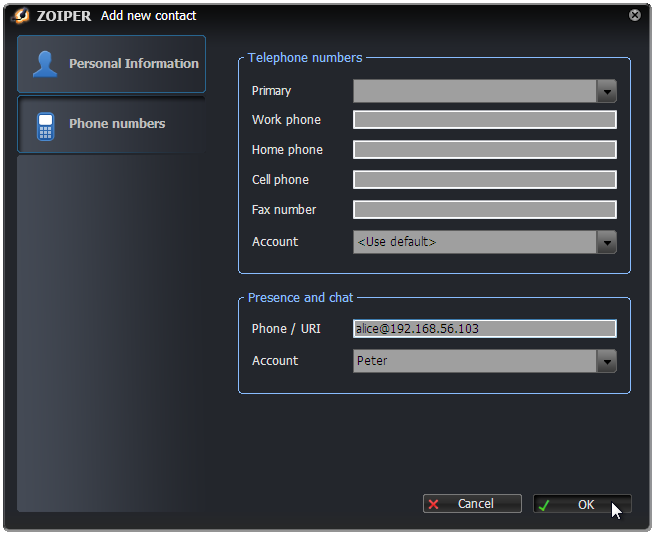
Click on "OK".
-
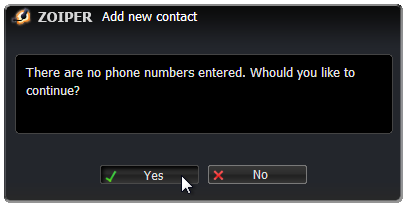
Finish adding contact.
- A warning will appear, stating the new contact does not have any phone numbers assigned to.
- Click on "Yes" if you do not wish to add any phone numbers to the new contact.
- Otherwise click on "No" and add the desired information.
-
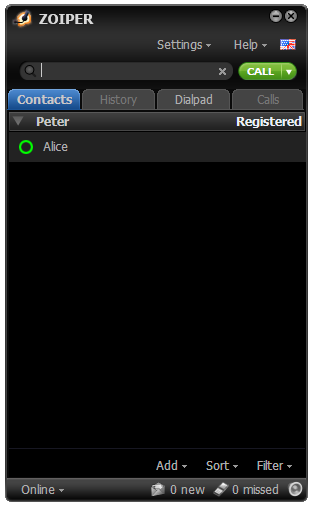
New contact has been added.
- The new contact will now appear in your Contacts list in Zoiper.
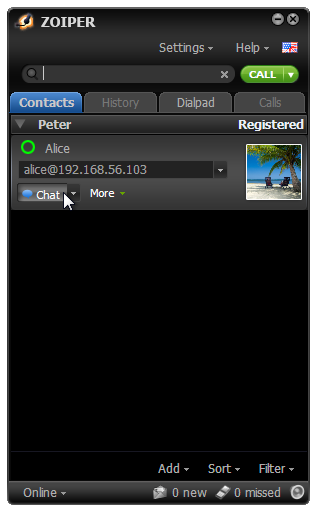
- Click on it to expand it.
-
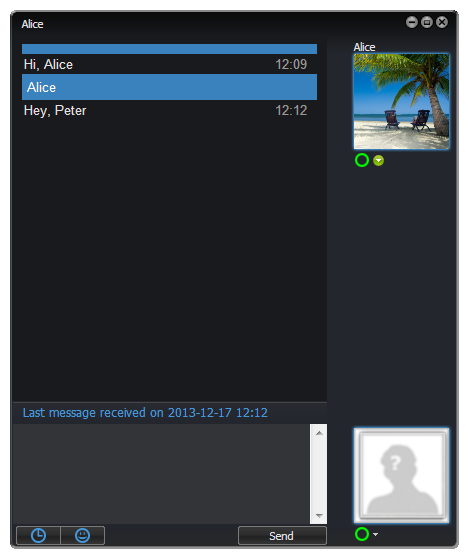
Click on "Chat" to start a new chat.
-
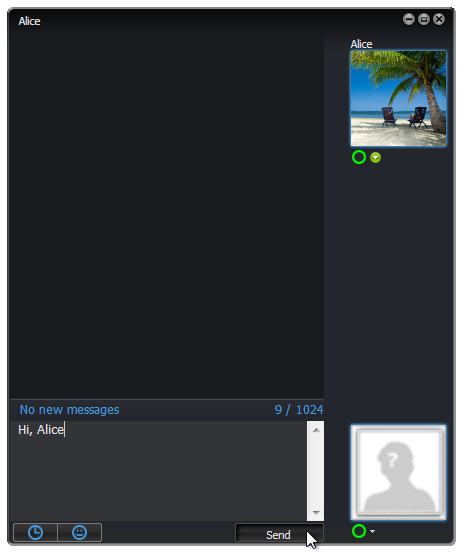
Send a message to the contact.
- A new chat window will appear.
- Type in your messages and hit "Enter" or click on "Send" to send them.
-
You can now chat.